This is first article in this series Build Pipeline with Azure DevOps.
1. Build Pipeline with Azure DevOps – The Basics
2. Build Pipeline with Azure DevOps – AppSettings.json Transformations
3. Build Pipeline with Azure DevOps – Generate EF Core Migration Script
4. Build Pipeline with Azure DevOps - Publish and Bundle Artifacts
Today we are going to look at creating a build pipeline for Azure DevOps to build and deploy an ASP.NET Core 3.1.x web application. For this exercise you need to have access to Azure DevOps portal and already have an organisation and project setup. It is free and we get 1,800 minutes per month of CI/CD (at the time of this writing).

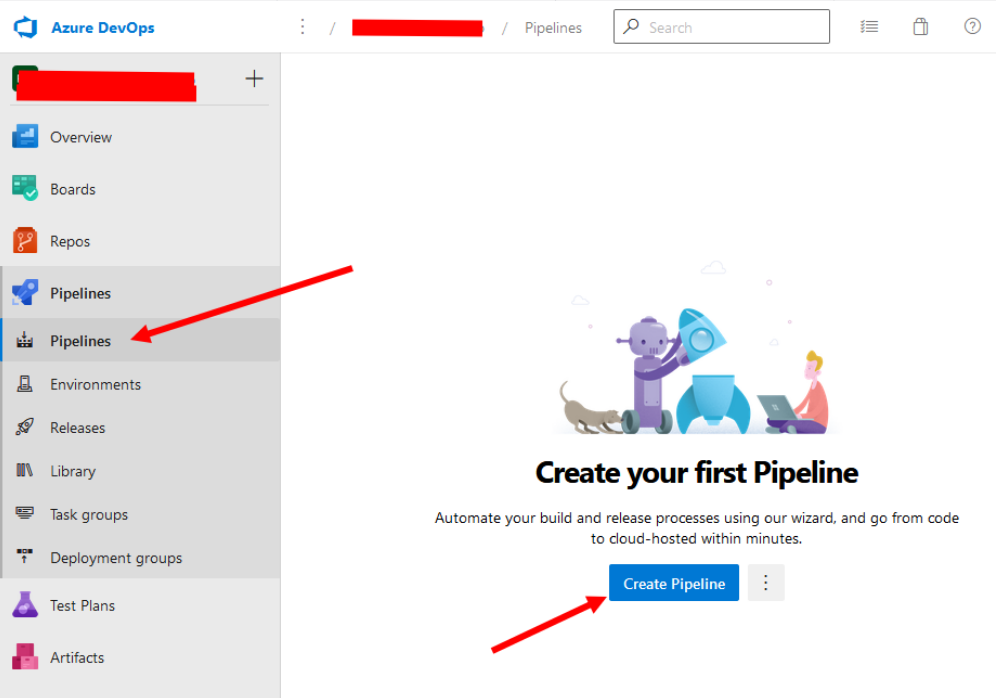
Once you are in the portal and have created a project, click on the Pipelines and click “Create Pipeline” button.
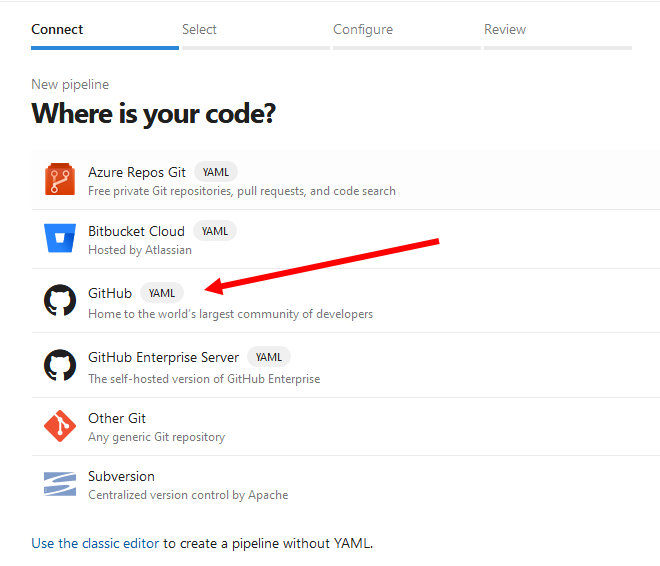
In this example we are going to use Github however Azure Repos, BitBucket and others are supported. Select GitHub.
Next it will ask you to sign in and select the repo on your GitHub account and give permissions to Azure DevOps to read/write permissions on the repo. Next on configure your pipeline screen choose ASP.NET Core. This will create azure-pipelines.yml file which when we save will be committed to our git repo’s root.
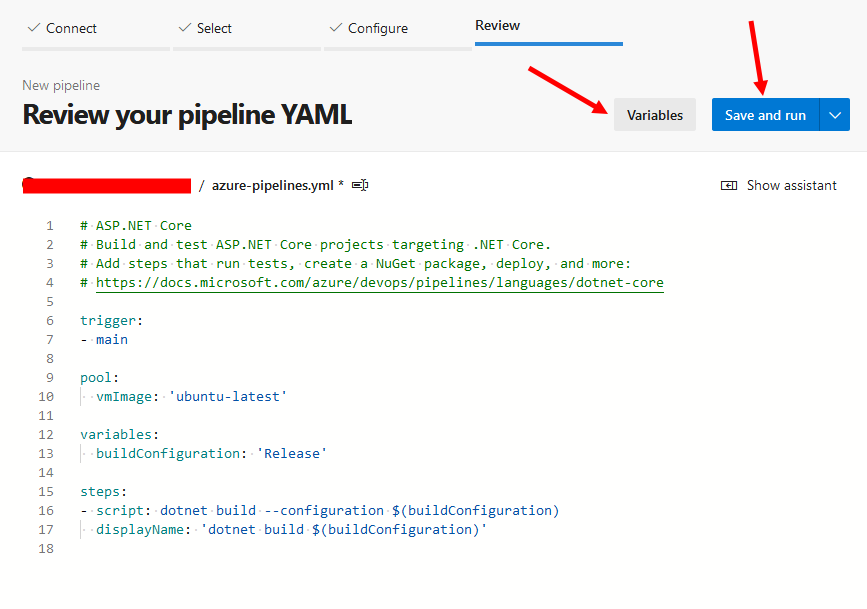
Change the vmImage to ‘windows-latest’ as following:
pool:
  vmImage: 'windows-latest'
Also notice the Variables button, we will come back to this when we look at transforming our appsettings.json file.
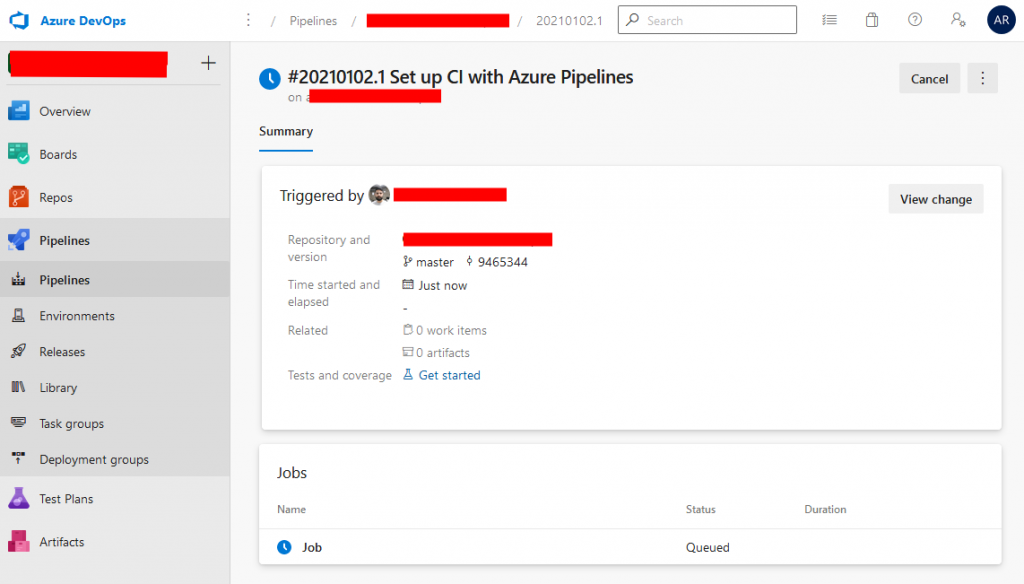
Click Save and run. You can click on the Job and view the status and logs of each step.
Next let’s look at transforming the appsettings.json values and saving sensitive information such as passwords and connection strings in Azure DevOps.
Build Pipeline with Azure DevOps – AppSettings.json Transformations